
Know How To Run Tests on an Azure Pipeline

Introduction
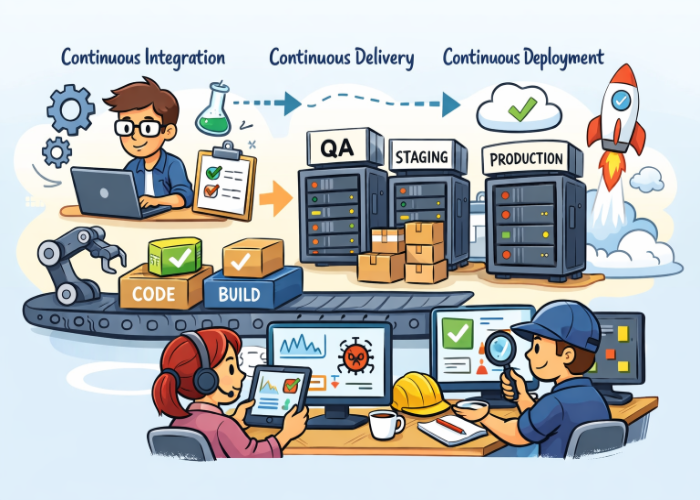
Automating test execution is crucial for maintaining software quality and ensuring consistent behavior across different environments. In this blog post, we’ll walk through the detailed steps to set up and run a UI test script in a DevOps pipeline using a YAML file and a self-hosted agent.
Create an Azure DevOps Account
Get a free Azure DevOps account here.
Create an Azure DevOps Organization
-
Log in to your Azure DevOps Account
-
Click on the blue Azure DevOps link in the upper left-hand corner.
-
Select the New organization link.
-
Select Continue on the Get started with Azure DevOps window.
-
Complete the Organization Name, Country, “Enter the characters you see”, and then select the Continue button to create the Organization.
Create a Project Under Your Organization
Enter your project name, then select the Create project button.
Create a Self-Hosted Agent
Create a self-hosted agent on a Windows machine. The agent will execute the automated UI tests.
Requred User Permission:
You will need a user account that has the following permission to register the self-hosted agent:
-
an Azure DevOps organization owner or TFS or
-
an Azure DevOps Server administrator
Create an Agent Pool:
-
Select the Project settings link in the bottom left corner of the screen.
-
Select Agent pool under the Pipelines menu in the left-hand menu.
-
Select the Add pool button in the top right corner of the screen.
-
Complete the Add agent pool form. Select Self-hosted under Pool type, enter the pool Name field, select the Grant access permission to all pipelines for the Pipeline permissions checkbox, and select the Create button.
Create a Self-Hosted Agent:
-
Select the Name of the agent pool you just created (“Agent_Pool_X”) under the list of Agent pools
-
Select the New agent button in the top right corner of the Agent_Pool_X screen.
-
On the Get the agent dialog box, perform the following actions
Choose the Windows tab:
-
Select Agent version x64 if you have a 64-bit Windows machine or select Agent version x86 if you have a 32-bit Windows machine.
-
Select the Download button to download the Agent software.
-
Open a PowerShell window. in the c:\directory, type the following command:
- PS C:\WINDOWS\system32> cd C:\Users<user name>\Automation\Pipeline
-
Then, type in the following command in the Powershell window
- PS C:\Users<user name>\Automation\Pipeline> mkdir Agent_X
-
Type the following command in the Powershell window (see Create the agent section under the image below):
- PS C:\Users\carol\Automation\Pipeline> cd Agent_X
-
Enter the following command in the Powershell window (see Create the agent section under the image below):
- PS C:\Users\Default\Automation\Pipelines\Agent_X> Add-Type -AssemblyName System.IO.Compression.FileSystem ; [System.IO.Compression.ZipFile]::ExtractToDirectory(“$HOME\Downloads\vsts-agent-win-x643.238.0.zip”, “$PWD”)
Configure the Self-Hosted Agent:
Follow these steps to complete the configuration to create an interactive self-hosted build agent:
Refer to the following information on the Microsoft website regarding configuring a Self-Hosted Agent and creating a personal access code (PAT) to authenticate a Self-Hosted Agent.
Step 1: At the Powershell prompt, change the directory path to your Agent folder on your c:/ drive.
- PS C:\WINDOWS\system32> cd C:\Users\Default\Automation\Pipelines\Agent_X
Step 2: Enter the following command to start the configuration process, as follows:
- PS C:\Users\Default\Automation\Pipelines\Agent_Z> .\config.cmd
Step 3: Enter your Azure DevOps Organization server URL at the prompt and then press the Enter key as follows:
- Enter server URL > https://dev.azure.com/My-Project-X/
Step 4: Select PAT as the authentication type by pressing the Enter key at the following prompt:
- Enter authentication type (press enter for PAT) >
Step 5: Enter your personal access code (PAT) at the following prompt and then press the Enter key:
- Enter personal access token > *************
This action will trigger a connection to the agent server and then prompt you to Register the Agent (see image below). To Register the Agent, complete the information requested under Steps 6 to 10.
Step 6: Enter the name of the agent pool associated with the agent, then press the Enter key.
- Enter agent pool (press enter for default) > Agent_Pool_X
Step 7: Enter the name of the agent, then press the Enter key.
- Enter agent name (press enter for DESKTOP-K64FEVM) > Agent_X
Step 8: Press the Enter key to select the work folder “_word” at the following prompt.
- Enter work folder (press enter for _work) >
Step 9: Press the Enter key to select N (to run the agent in interactive mode) at the following prompt:
- Enter run agent as service? (Y/N) (press enter for N) >
Step 10: Press the Enter key to select N (do not configure autologon and run agent on startup) at the following prompt:
- Enter configure autologon and run agent on startup? (Y/N) (press enter for N) >
The following prompt should be displayed, which signals the completion of the Agent configuration process:
- PS C:\Users\Default\Automation\Pipelines\Agent_X>
Important Notes:
-
It is strongly recommend that you configure the agent from an elevated PowerShell window. This is required if you want to configure it as a service.
-
It is preferred to configure the agent to run the Agent in Interactive mode if you intend to run UI tests. See the following Agent information on the Microsoft website.
-
Windows PowerShell ISE should not be used to configure the agent.
-
For security reasons, we strongly recommend making sure that the agent’s folder (C:\agents) is only editable by administrators.
Run the Agent
-
Type the following command and then press the Enter key in the same PowerShell window to run the agent:
PS C:\Users\Default\Automation\Pipelines\Agent_X> .\run.cmd
-
The following message should be displayed to indicate that the Agent has started and is waiting to run an Azure Pipeline build:
Scanning for tool capabilities. Connecting to the server. 2025-08-18 14:27:07Z: Listening for Jobs
Create a YAML Build Pipeline
-
On your Azure DevOps project, on the left-hand menu, select the Pipelines menu item.
-
Select the Create pipeline button.
-
Select Azure Repos Git under Where is your code?
-
Choose the name of your repository
-
Select Existing Azure Pipeline YAML file under the Configure your pipeline window.
-
In the Select an existing YAML file window, select your Branch and the Path to the YAML file that you will be using to run your UI test script. Then select the Continue button.
-
Select the Save and run button to run the Azure Pipeline
The Pipeline will execute the UI test scripts and publish the test build artifacts.
Note:
Remember to customize the YAML file according to your project’s specific requirements.
Conclusion
By following these steps, you’ve successfully set up UI test scripts in an Azure DevOps build pipeline using a self-hosted agent. Happy testing!


🗨️ Reader Comments